Bald spots on a lawn are something every homeowner experiences at one point or another in their pursuit of the perfect lawn. Typically these spots can be fixed with a few easy steps, some water, and a little patience.
Cause of Problem
Most important is to determine what caused the spot to develop in the first place. Without determining the underlying issue there is the potential the spot could return regardless of how well of a repair was completed. The following is a fairly extensive list of potential culprits, some of which may require a little detective work with a shovel.
Excessive foot traffic
Animal urine
Dull lawn mower blades
Scalping by cutting your grass too short
Chemical spills
Poor soil condition caused by thatched grass
Lack of fertilization
Buried rocks or other debris
Erosion from water runoff
Tree or shrub roots
Drought
Dormancy due to the type of grass planted
Grub infestation
Chinch bugs and other insects
Fungal disease
Once you’ve determined the underlying issue and corrected as necessary the area is now ready for some prep work.
Prepare Soil
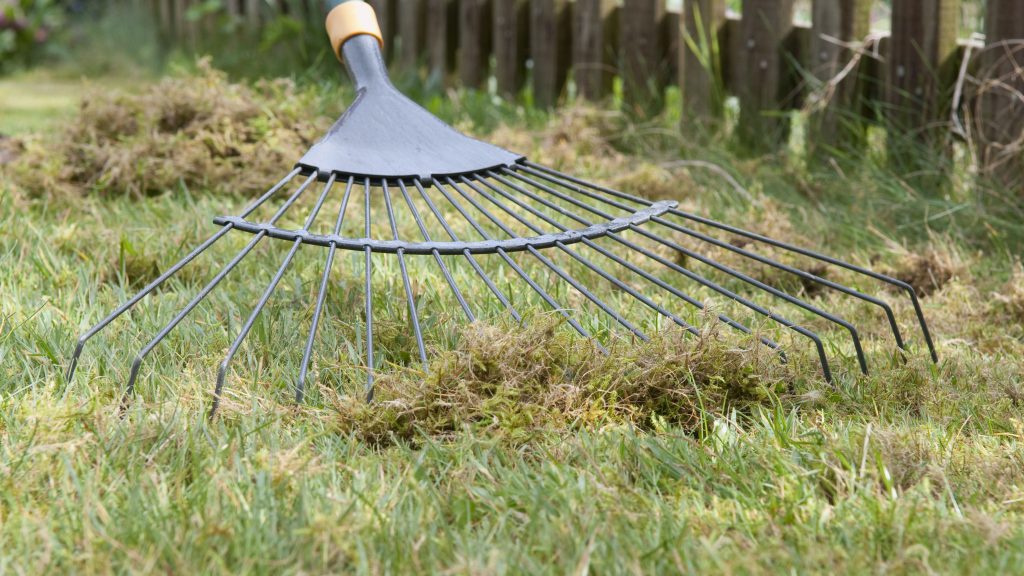
Just sprinkling seeds and hoping for the best is not recommended for best results. If there is a thatch layer or any debris over the spot, remove it with an aggressive raking to expose the topsoil below. Once the soil is exposed, loosen up the top inch or so and then spread evenly so the entire surface is level with the surrounding soil. It the spot is lower than necessary, add some quality top soil to bring it up to the correct level. Keep in mind loosen soil will compact a bit over time, so if the area is up to a ½ higher than its surrounding, that is ok.
Spread Seed
With the soil prepared properly it’s time to spread some grass seed. Remember to choose a seed that is appropriate for your climate and sunlight exposure of the area you are repairing. Typically spots are repaired when needed, but keep in mind, cool season grasses do best when planted in late summer to early fall, while warm season grasses perform best when the seed is sown in spring or early summer. Once seed is spread, lightly rake the area to work the seed into the soil, paying careful attention to keeping the seeds spread evenly.
Cover
Covering the seed is not necessary, but can be beneficial for a few reasons. A light cover of peat moss will help retain moisture until the grass is established, which is especially important when performing repairs during the more humid times of the season. Covering with a bit of compost or enriched soil will give the seeds a bit of a nutrient boost, but be careful not to bury the seeds to deep or there is a chance they will not germinate. In the absence of covering with soil, peat, etc. it is a good idea to cover the area with some straw, which helps a bit with moisture retention, but more importantly keeps the newly strewn seed from becoming a hungry birds snack.
Water
Of course no how-to dealing with grass goes without mentioning watering. Water the seeds in the early morning and evening until they germinate, but also check throughout the day to ensure the area never dries out. When watering, water well, but not hard. A gentle spray, like raindrops, or even a mist, is necessary so the seeds do not get pushed around by an aggressive water stream.
Final Steps
Hold off on mowing until the grass blades are over 3 inches tall, and even after the first mowing, let the area grow slightly longer than the rest of the lawn until the colors of the two match. There is no need to fertilize immediately, as experts tend to agree that starter fertilizers are not useful until after the grass is established. Within a few weeks the spot will barely be noticeable from the rest of your lawn, and within a month, the trouble area with be just a memory.